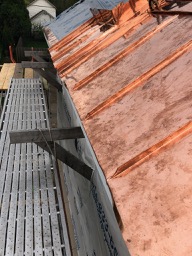
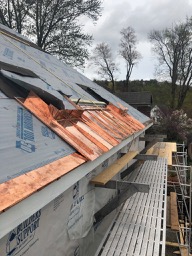
The snow aprons were completed and slate started going on this weekend in Titusville.


The Internet's Own Historic, Traditional, and Permanent Building HQ
The snow aprons were completed and slate started going on this weekend in Titusville.
We have a new Trad roofing convert. Crookshanks has been known in the slate roofing community for years and now they are going trad! We are thrilled to see Dennis learning seamed roof construction.

Snow aprons and skylight flashing started today on location in Titusville, PA.
Thanks to the staff at Corken Steel for resolving our problems with the order in a timely manner to make sure these materials were onsite for my arrival on Friday!


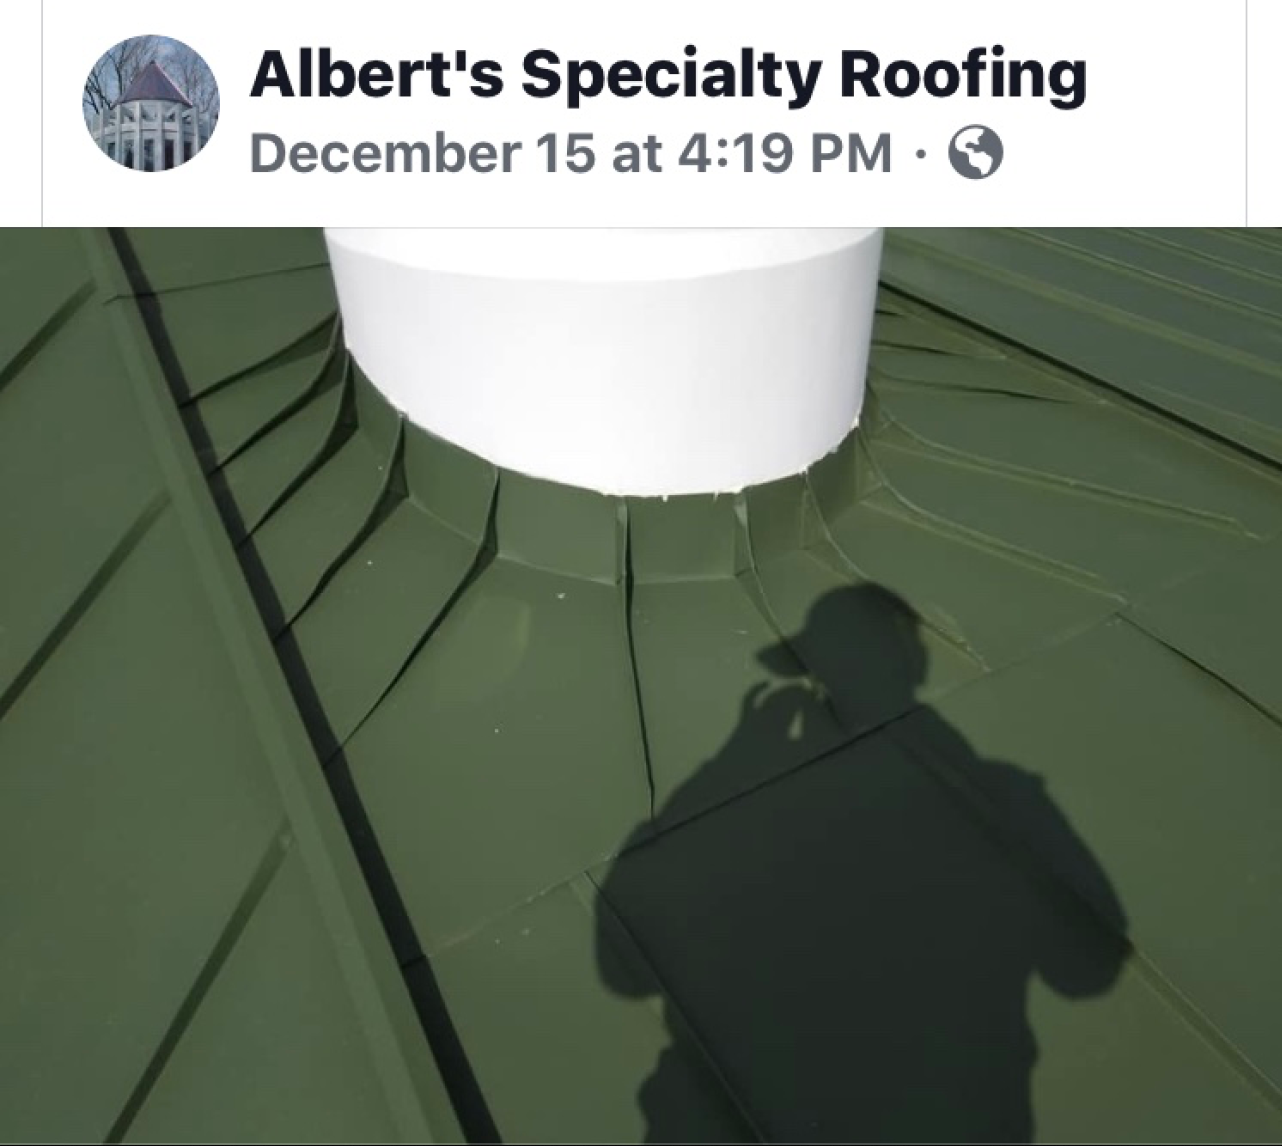
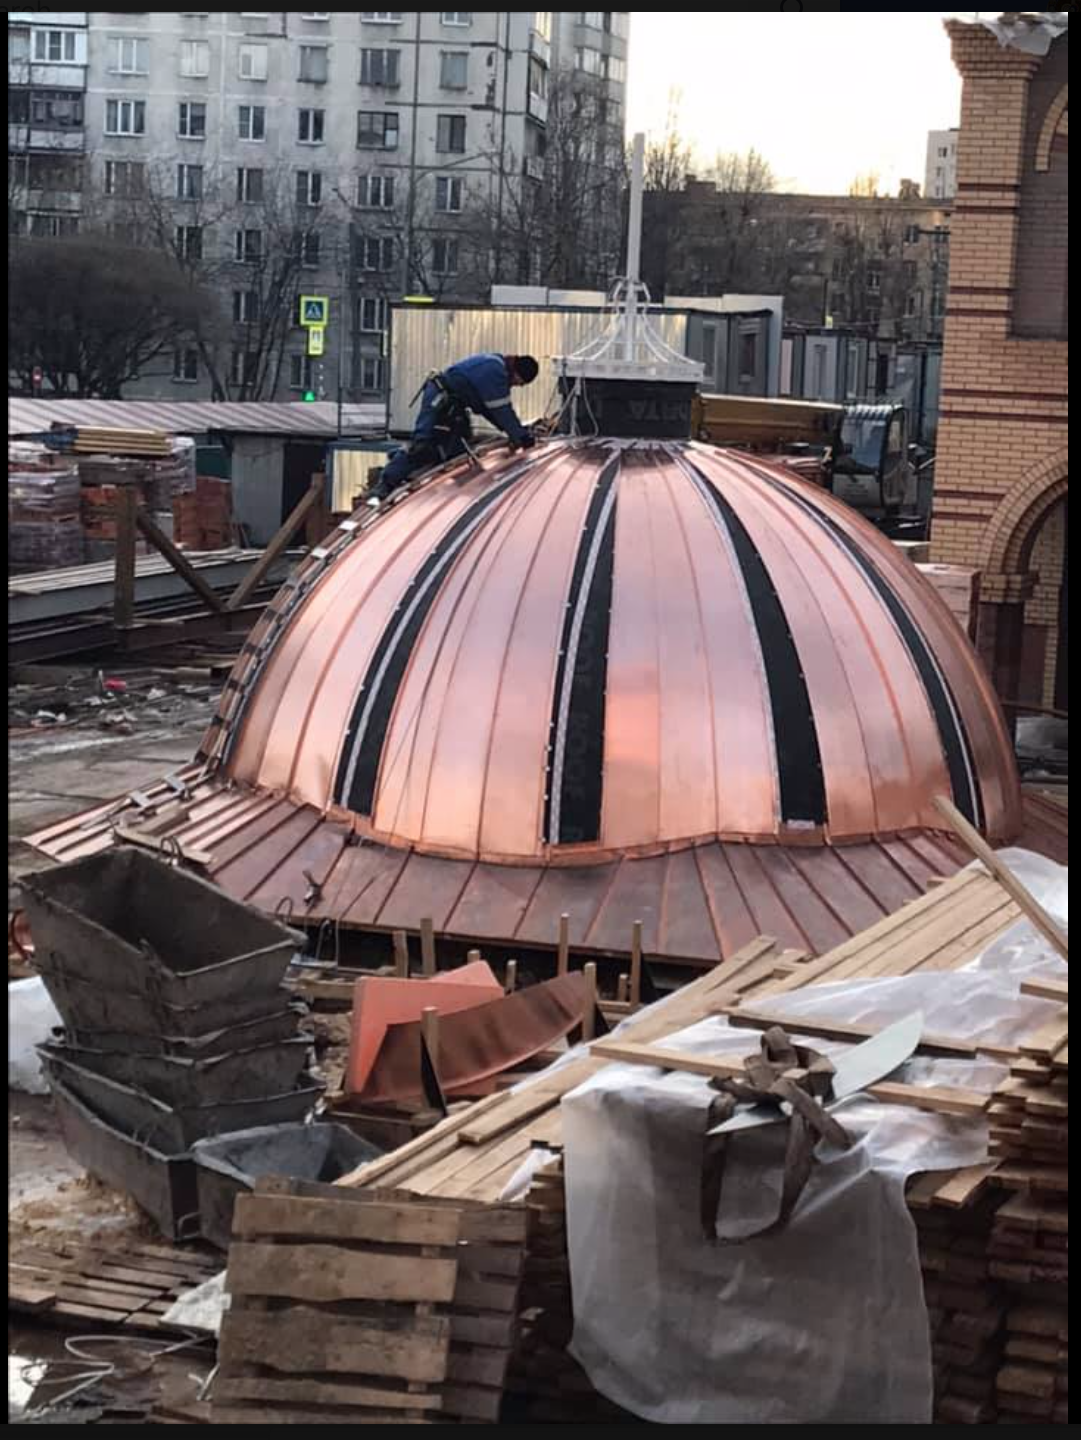
Comrade Igor Gabro brings us a stunning roof undergoing repairs to some sections with the remaining ones staying in place. Organic roofing at it’s best!

the absolute perfect execution of a small barrel..


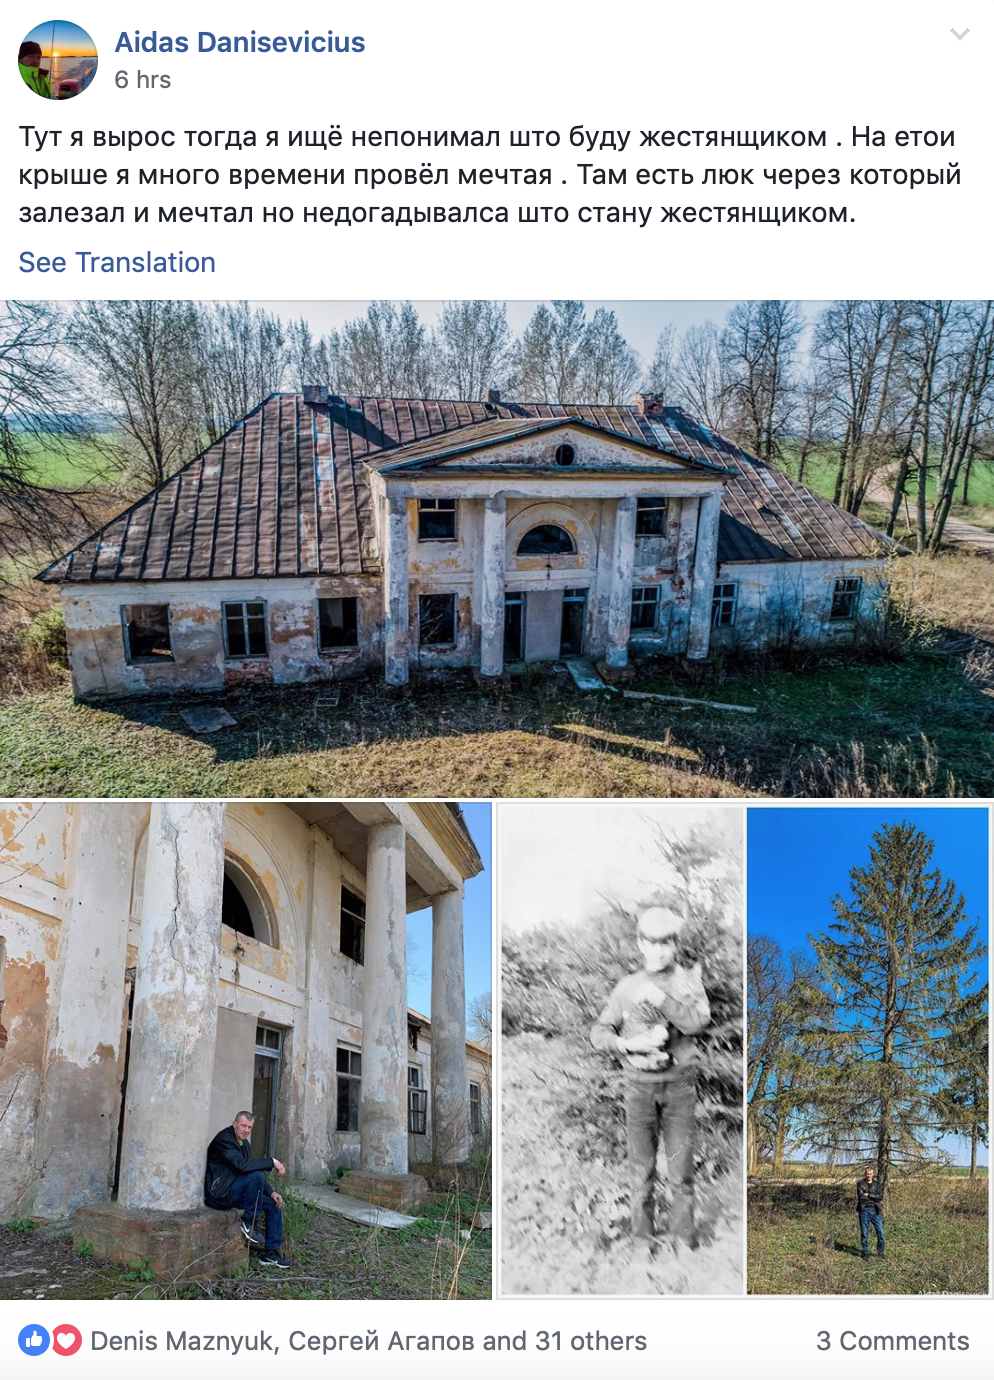
Comrade: Aidas Danisevicius shares photos of his boyhood home? The post includes video of a roof tour, and up-close photos of the joinery. They claim the house is from 1600. I have my doubts that the roof is original, but it’s very early: at least and century and a half, maybe two from my experience surveying similar old roofs in america on aged structures.


A fully seamed window pan. Americans scratch their heads at this detail and resort to solder/sealant. Here, a guild-trained roof tailor handles the detail with ease: and permanence.

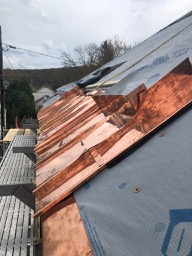
Folks, it’s been a great weekend. Kirk picked me up on Friday. He’s building a garage and using salvaged slate for the roof and the siding. Over the weekend we started work on the roof together. First task was the drip edge. We made some origami corners for the drip and used “my” double lock clip system which give it a real old-world handmade kinda look while also being very easy to install.
We don’t have copper yet so the pan-forming work will have to start next weekend. We are doing a 3′ snow apron in standing seam copper, and the roof will have 4 skylights so there is quite a lot of custom detailing to work on.

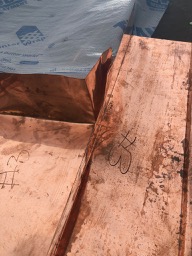
The drip corner starts as a miss-shaped copper fortune cookie..

And then it’s nailed onto the corner and shaped in-place with an anvil and planishing hammers.

No need to cut/miter the drip edge and the corner has a strong, one-piece gusset now that you can step on without it crushing.


You must be logged in to post a comment.